30 March 2010

Making a Palm Leaf Cross - for Palm Sunday

How to Make a Palm Frond Cross


On the Sunday before Easter, many Christians celebrate Palm Sunday. Recalling the entrance of Jesus into Jerusalem, churches distribute palm leaves in remembrance of people who waved them and carpeted his path with them. One of the things you can do with these palm leaves is to fold them into crosses. These are great to give out as little gifts or hide as secret presents!

Steps


Gently tear/snap palm blade off stalk.

  • Hold the blade pointy side up.
  • Fold the blade to the right to make a 90° angle.

  • Fold down once.

  • Fold down again. You should now have a small square shape.

  • Push the pointy end around the back of the square and fold over.

  • Take the pointy end on the left, loop towards you without any turns, and:

  • Push then pull it through the square until it comes out of the square.

  • Pull through all the way.

  • Hold onto the square with one hand and tug on the fat and pointed ends to secure it. You should now have a locked 90° angle.

  • Take the pointy end and turning it towards yourself, push through square. This is the head and base of the cross.

  • Turn 45° to where the pointy end is down and the fat end is to your right.

  • Flip it so the fat end is on your left.

  • Take fat end and loop towards you into the square. Pull until about the same length as head.

  • Turn it over to where the straight fat end faces left again.

  • Take fat end and loop towards you into the square. Pull until about the same length as other two parts. Be sure to tuck it inside the other loop so you can't see it.
  • VIDEO:


    Making a Palm Leaf Cross - for Palm Sunday


    How to Make a Palm Frond Cross

    originated by:Anonymous

    On the Sunday before Easter, many Christians celebrate Palm Sunday. Recalling the entrance of Jesus into Jerusalem, churches distribute palm leaves in remembrance of people who waved them and carpeted his path with them. One of the things you can do with these palm leaves is to fold them into crosses. These are great to give out as little gifts or hide as secret presents!

    Steps

    1. Gently tear/snap palm blade off stalk.


    2. Hold the blade pointy side up.
    3. 3
      Fold the blade to the right to make a 90° angle.
    4. Fold down once.
    5. Fold down again. You should now have a small square shape.
    6. Push the pointy end around the back of the square and fold over.
    7. Take the pointy end on the left, loop towards you without any turns, and:
    8. Push then pull it through the square until it comes out of the square.
    9. Pull through all the way.
    10. Hold onto the square with one hand and tug on the fat and pointed ends to secure it. You should now have a locked 90° angle.
    11. Take the pointy end and turning it towards yourself, push through square. This is the head and base of the cross.
    12. Turn 45° to where the pointy end is down and the fat end is to your right.
    13. Flip it so the fat end is on your left.
    14. Take fat end and loop towards you into the square. Pull until about the same length as head.
    15. Turn it over to where the straight fat end faces left again.
    16. Take fat end and loop towards you into the square. Pull until about the same length as other two parts. Be sure to tuck it inside the other loop so you can't see it.
    Make-a-Palm-Frond-Cross

    29 March 2010

    Paper Roses Tutorial By Beate Johns

    The following tutorial was created by Beate Johns, and she used Tim Holtz's Flower Die

    Grunge Flower Tutorial

    Here is the tutorial for the grunge flower I posted yesterday.

    Step 1:

    grungerosestep1.jpg

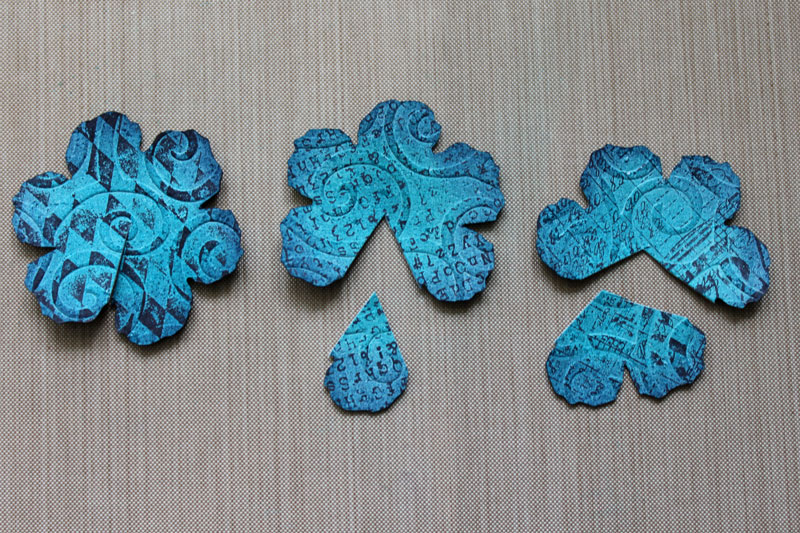
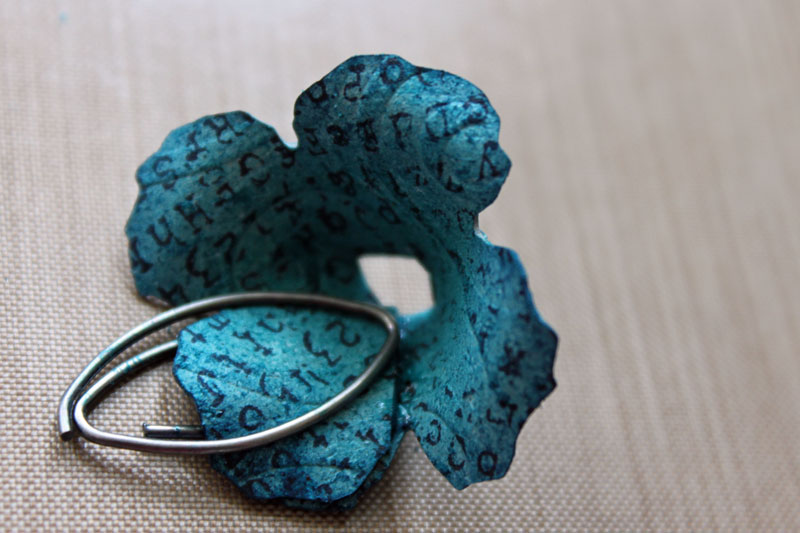
    Cut three six petal flowers out of grunge paper that had been embossed with Cuttlebug’s Divine Swirls Embossing Folder. I used Tim ’s Tattered Floral Alteration Die. The flowers were sponged first with Stream Adirondack , then with Chipped Sapphire Distress ink. Next they were stamped with Jet Black Archival Ink and stamps from the sets Going Somewhere and Mini Muse.

    Cut the first flower between petals to the middle of the flower.

    Cut one petal off the one flower and two petals of the other. Keep the extra pieces.

    Step 2:

    grungerosestep2.jpg

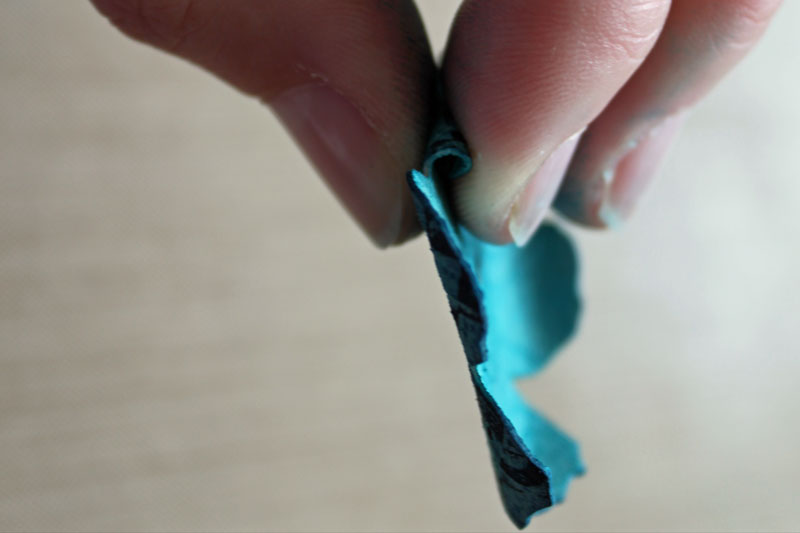
    Roll each petal betwen your fingers to shape the petal.

    Step 3:

    grungerosestep3.jpg

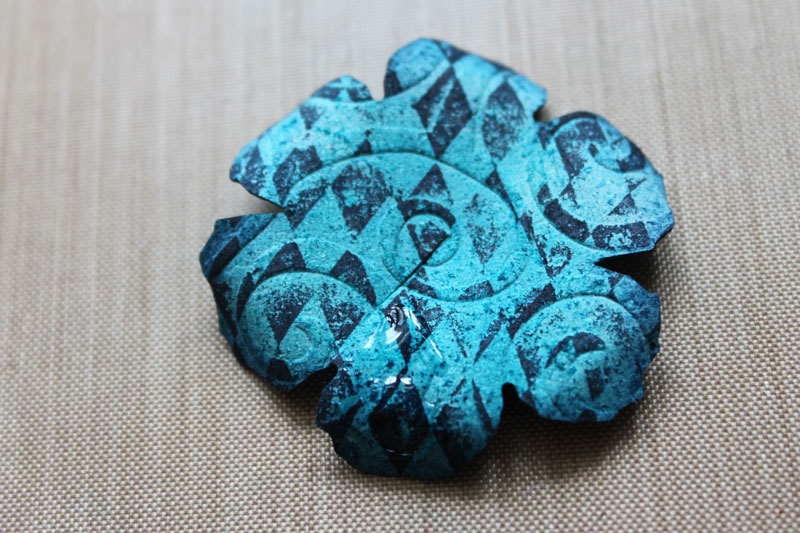
    Add adhesive on the right petal next to the cut.

    Step 4:

    grungerosestep4b.jpg

    Fold the petal left of the cut over the right one and press down. To hold in place while drying, I use a paper clip.

    Step 5:

    grungerosestep5a.jpg

    Repeat step three and four with your five petaled flower.

    grungerosestep5b.jpg

    As well as with your four petaled flower.
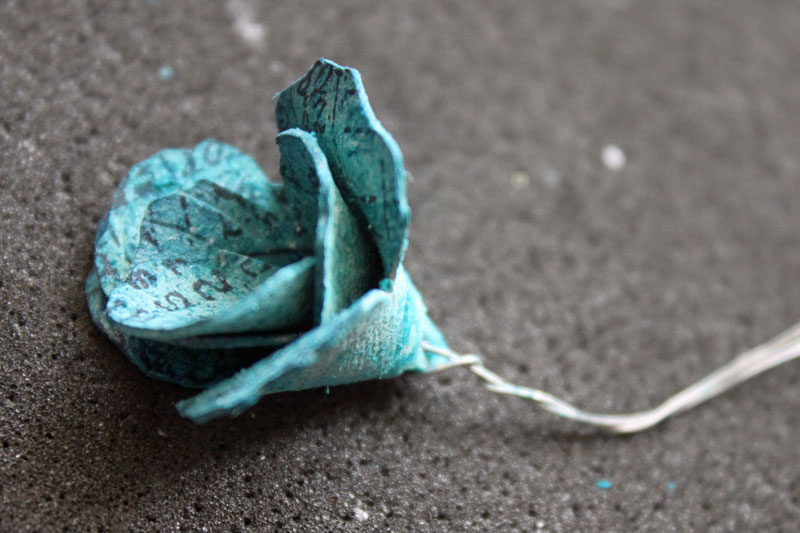
    Step 6:

    grungerosestep6a.jpg

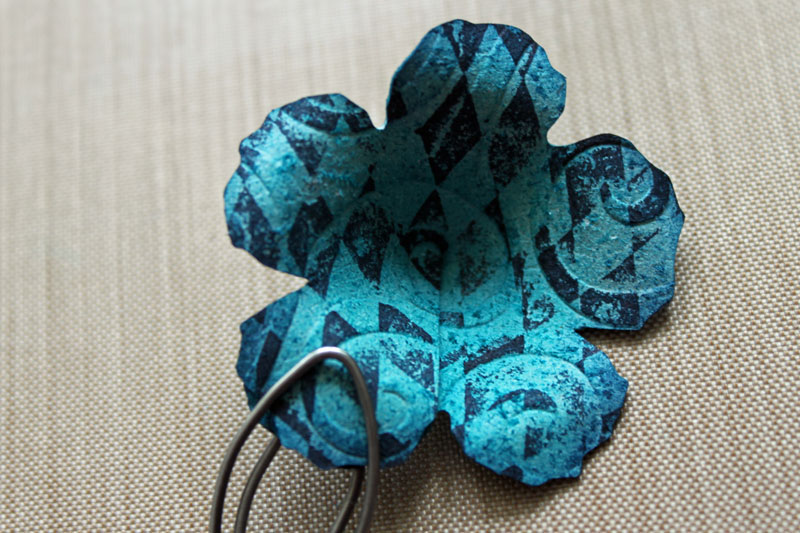
    On your two petaled piece, roll the right panel down like all your other petals. Add adhesive to the back of your left panel.

    grungerosestep6b.jpg

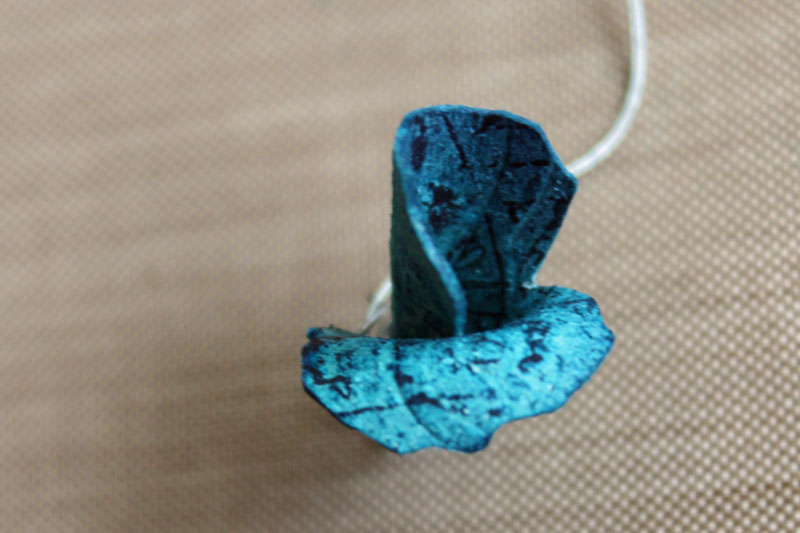
    Roll the left panel over the right creating a cone. Hold cone together while glue dries either with wire wrapped around it or a clothes pin.

    Let all pieces dry. Five minutes should be enough.

    Step 7:

    grungerosestep7a.jpg

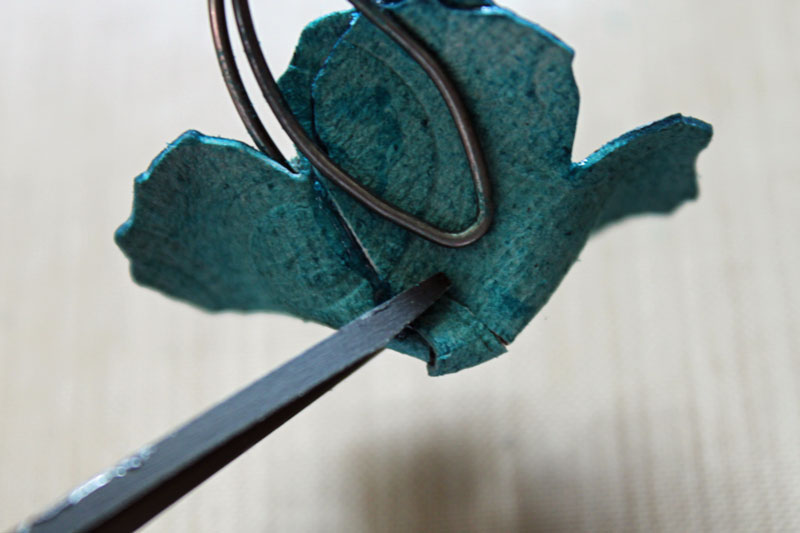
    Cut a hole on the bottom of your four petaled cone.

    grungerosestep8a.jpg

    Step 8:

    grungerosestep8b.jpg

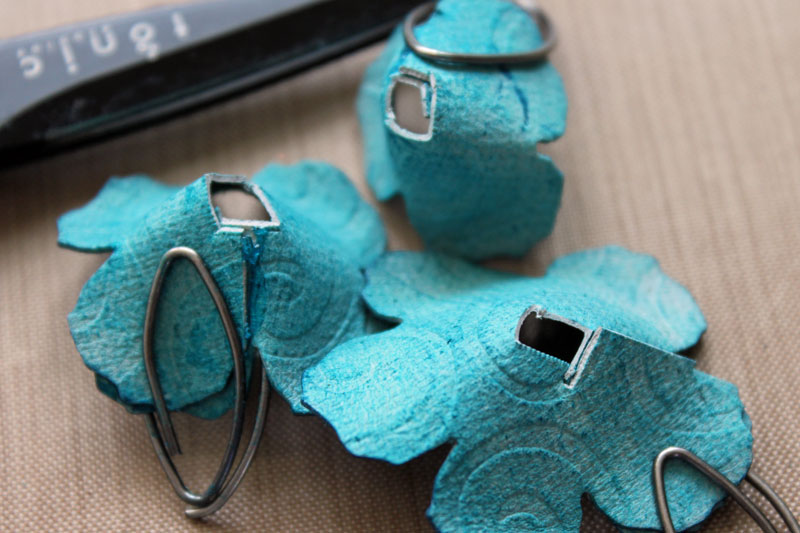
    Repeat step 7 with the five and three petaled cone.

    Step 9:

    grungerosestep10a.jpg

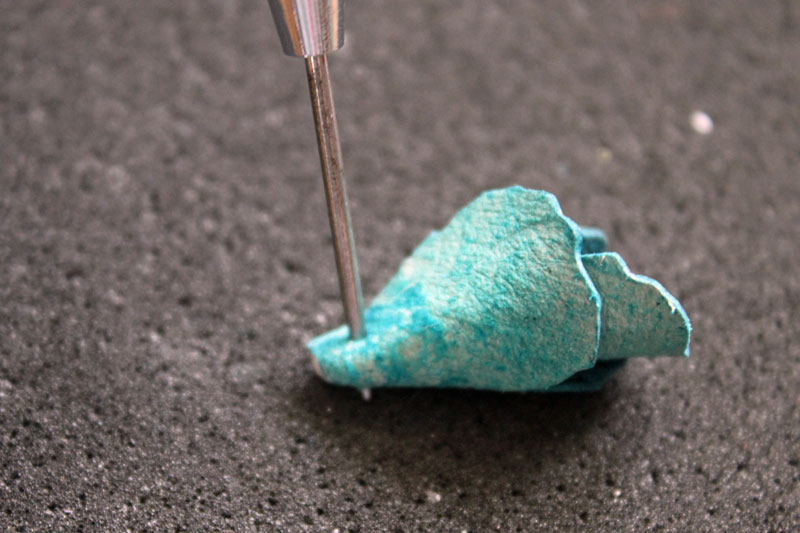
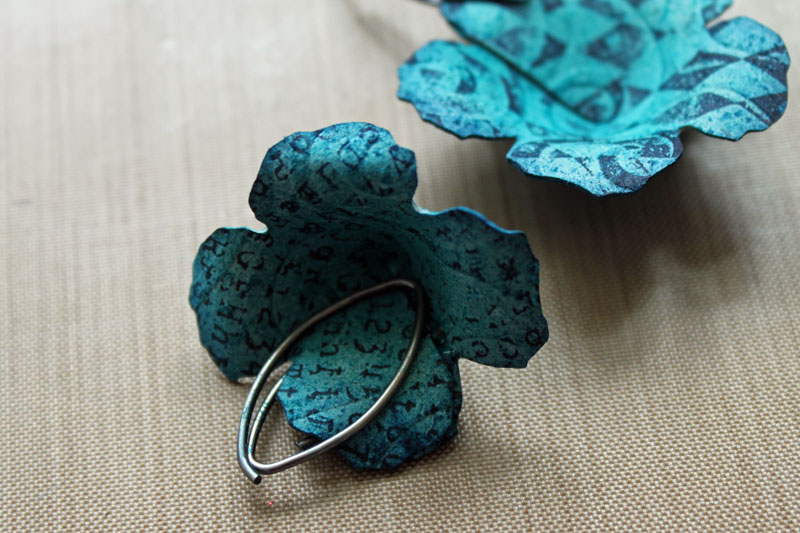
    Poke a hole through your two petaled cone.

    grungerosestep10b.jpg

    Thread a wire through the hole. Center the flower cone on the wire. Fold the wire ends together.

    Step 10:

    grungerosestep9.jpg

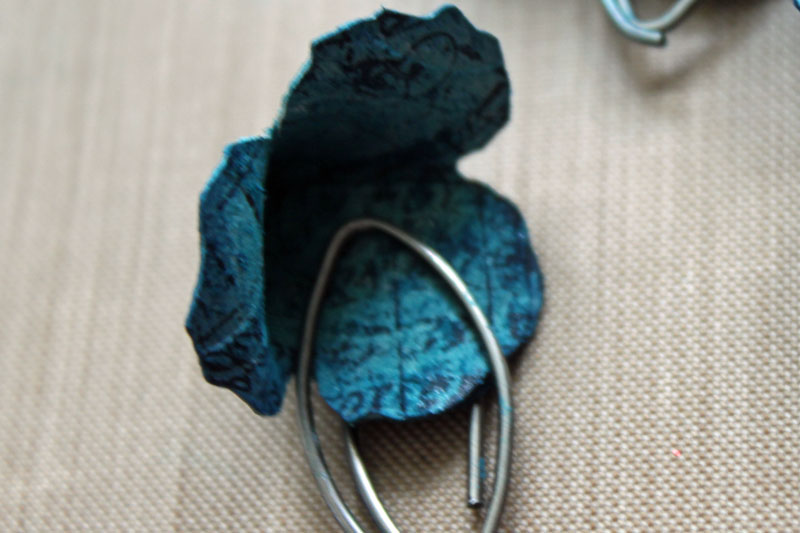
    Roll the edges of your single flower petal inward, like a gate fold card. Cut the bottom off and slide into your two petaled cone.

    Step 11:

    grungerosestep11a.jpg

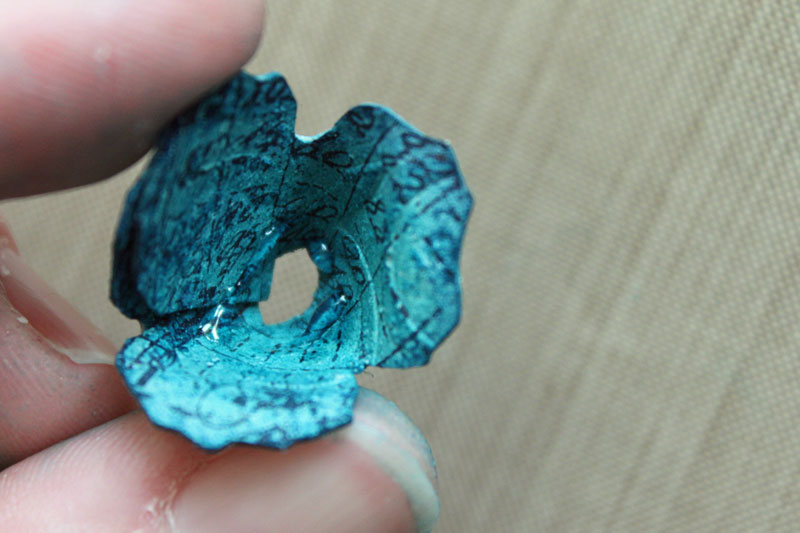
    Add adhesive on the edges of the center of the three petaled cone.

    grungerosestep11b.jpg

    Thread your two petaled piece into your three petaled cone.

    Step 11:

    grungerosestep12.jpg

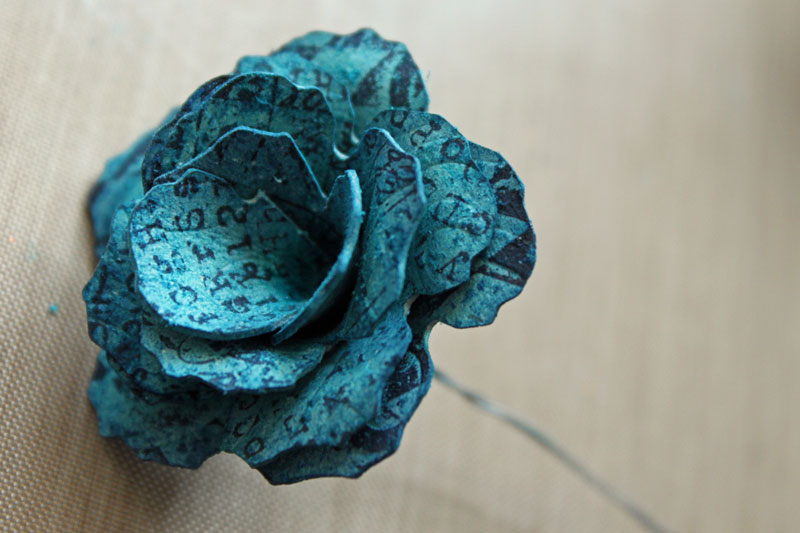
    Repeat step 10 with your four and five petaled cone to finish your flower.

    I shot the video for the grunge flower with the bigger die flowers of Tim’s die. I forgot to show to add glue to the inner cones before assembly. Sorry about that. Here is the video for the visual learner: