Grunge Flower Tutorial
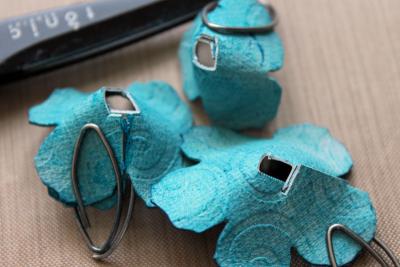
Here is the tutorial for the grunge flower I posted yesterday.
Step 1:
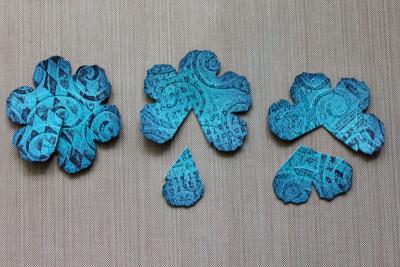
Cut three six petal flowers out of grunge paper that had been embossed with Cuttlebug’s Divine Swirls Embossing Folder. I used Tim ’s Tattered Floral Alteration Die. The flowers were sponged first with Stream Adirondack , then with Chipped Sapphire Distress ink. Next they were stamped with Jet Black Archival Ink and stamps from the sets Going Somewhere and Mini Muse.
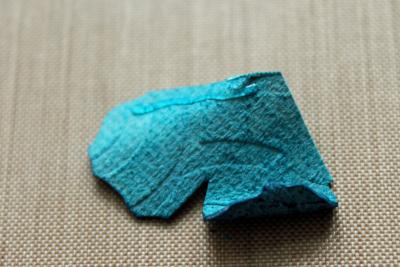
Cut the first flower between petals to the middle of the flower.
Cut one petal off the one flower and two petals of the other. Keep the extra pieces.
Step 2:
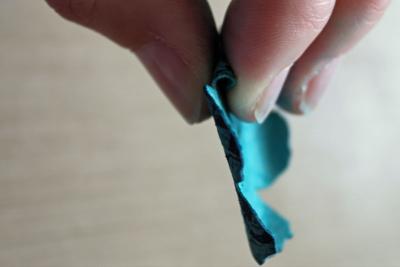
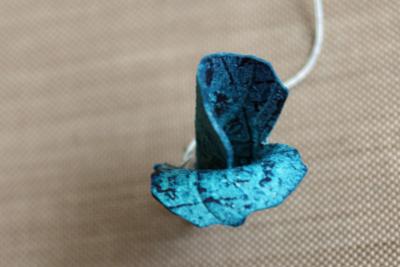
Roll each petal betwen your fingers to shape the petal.
Step 3:
Add adhesive on the right petal next to the cut.
Step 4:
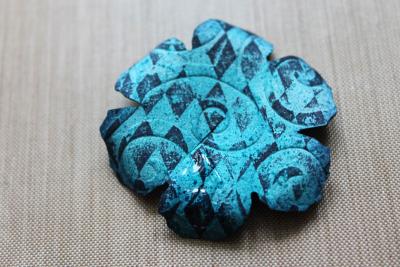
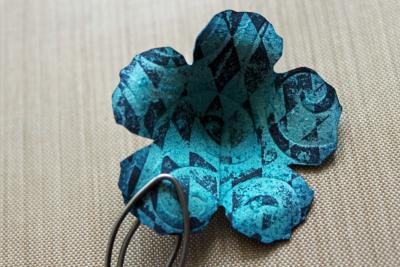
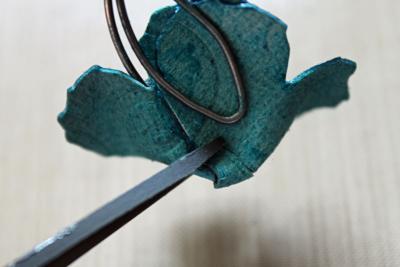
Fold the petal left of the cut over the right one and press down. To hold in place while drying, I use a paper clip.
Step 5:
Repeat step three and four with your five petaled flower.
As well as with your four petaled flower.
Step 6:
On your two petaled piece, roll the right panel down like all your other petals. Add adhesive to the back of your left panel.
Roll the left panel over the right creating a cone. Hold cone together while glue dries either with wire wrapped around it or a clothes pin.
Let all pieces dry. Five minutes should be enough.
Step 7:
Cut a hole on the bottom of your four petaled cone.
Step 8:
Repeat step 7 with the five and three petaled cone.
Step 9:
Poke a hole through your two petaled cone.
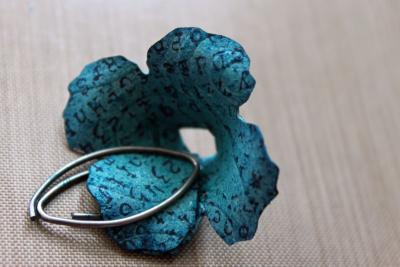
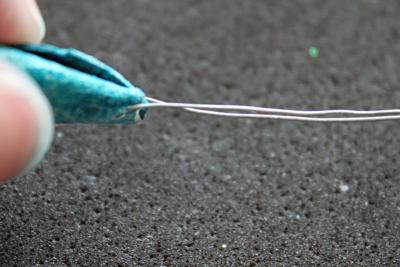
Thread a wire through the hole. Center the flower cone on the wire. Fold the wire ends together.
Step 10:
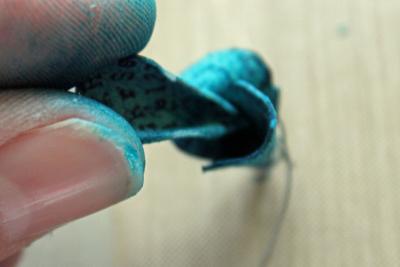
Roll the edges of your single flower petal inward, like a gate fold card. Cut the bottom off and slide into your two petaled cone.
Step 11:
Add adhesive on the edges of the center of the three petaled cone.
Thread your two petaled piece into your three petaled cone.
Step 11:
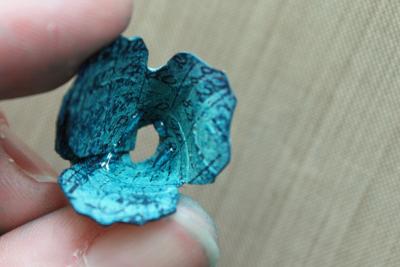
Repeat step 10 with your four and five petaled cone to finish your flower.
I shot the video for the grunge flower with the bigger die flowers of Tim’s die. I forgot to show to add glue to the inner cones before assembly. Sorry about that. Here is the video for the visual learner:





No comments:
Post a Comment